
When working with custom brushes in Photoshop, especially those containing lots of texture, it’s likely that you’ll want to use that same brush as an Eraser to keep the texture consistent when erasing areas you’ve previously painted. The problem is the Eraser tool doesn’t automatically inherit the settings of the last brush you used. This means if you switch from the Brush tool to the Eraser tool, a different brush will be selected by default.
In this tutorial, I’m going to show you how to solve this problem and instantly turn any Photoshop brush into an Eraser.
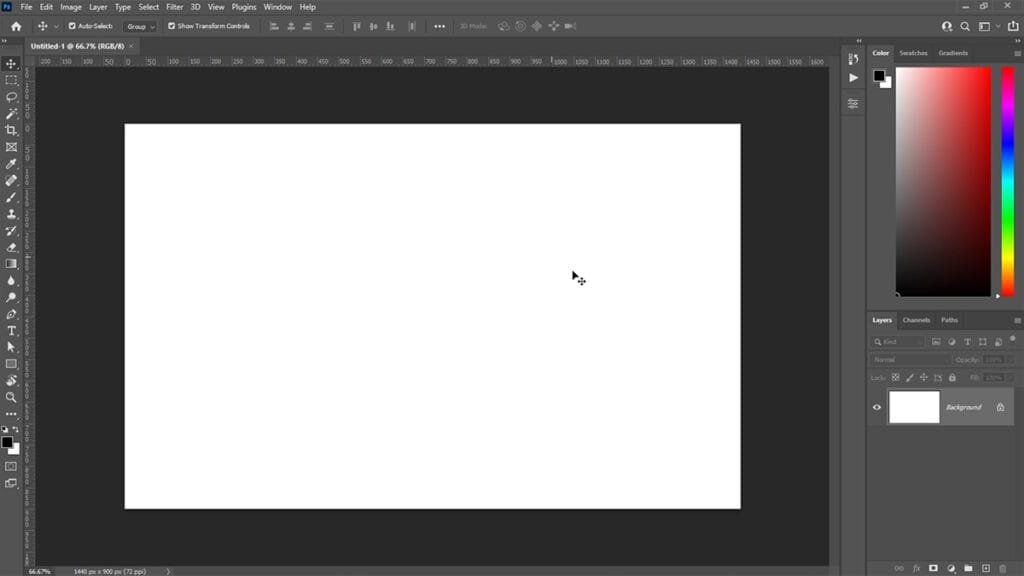
Let’s start by creating a new document (Cmd+N on Mac / Ctrl+N on Windows).
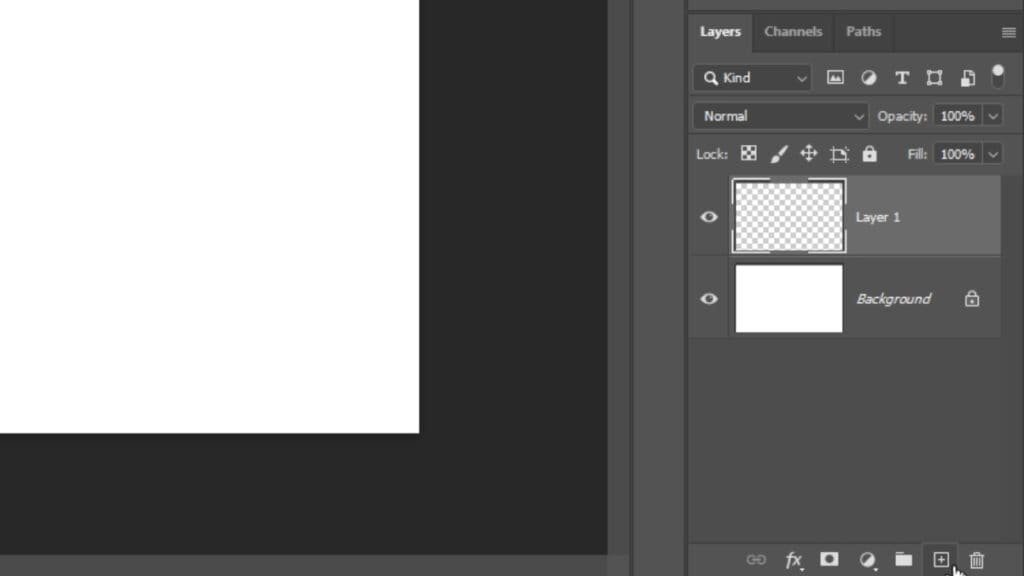
Create a new layer (Shift+Cmd+N on Mac) / Shift+Ctrl+N on Windows). This is the layer you’re going to paint on.
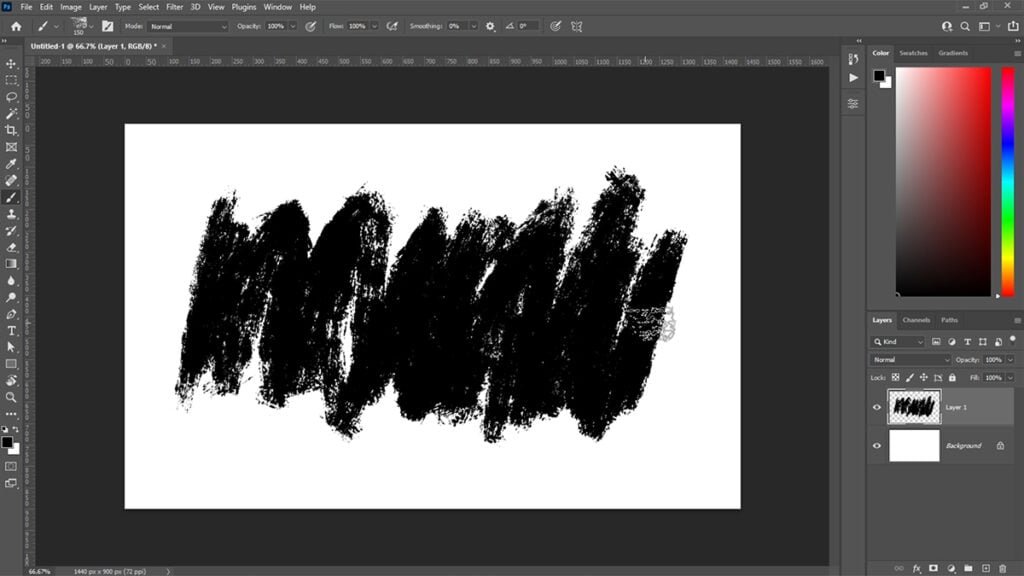
Choose the Brush tool (B), then open the Brush Preset picker and choose a brush. For this example, I’m going to use Old Brush Ink 5 from Kyle T Webster’s Megapack.

Paint over an area of the canvas.
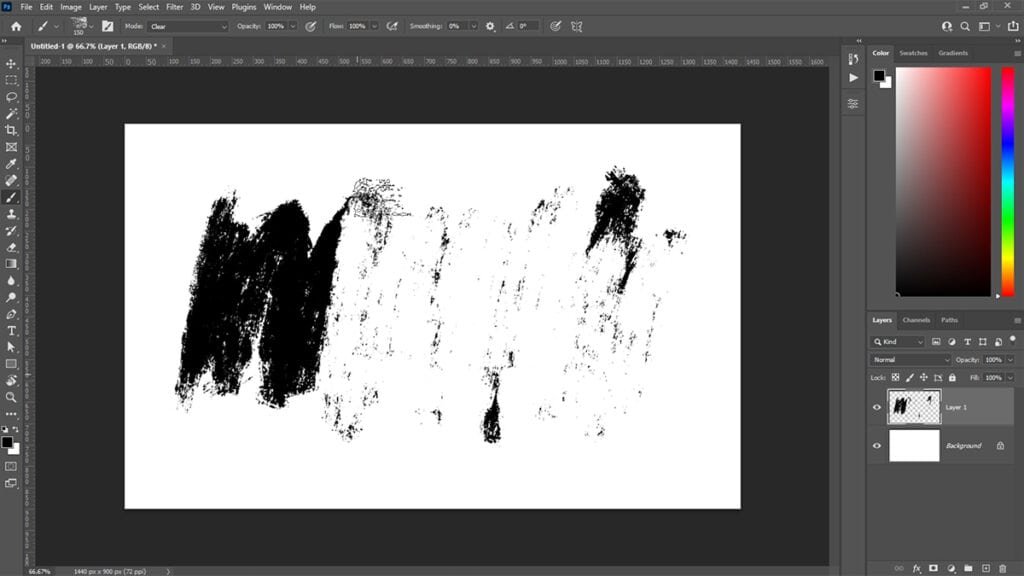
Now you’re going to use your chosen brush to erase part of this painted area. To do this, go to the Options bar, then change the brush blend Mode to Clear.
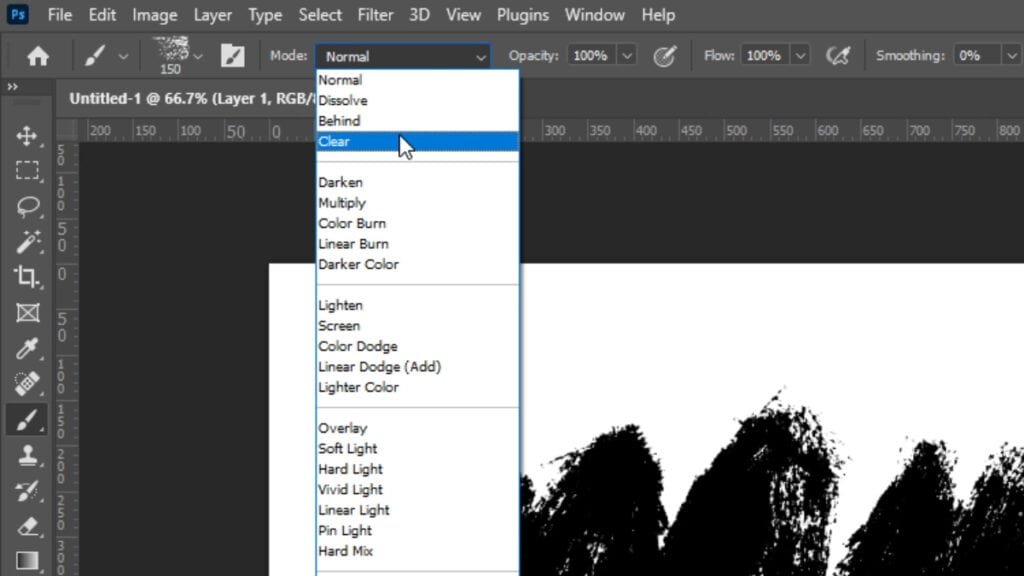
Start “painting” over the painted area and you’ll see that the brush is now behaving just like an eraser. This is because the Clear blend mode essentially acts like an “erase” mode, clearing coloured pixels from the canvas and making them transparent.
Once you’ve finished erasing, change the Mode back to Normal and you can start painting again.
In Photoshop 2020, a keyboard shortcut was introduced to allow you to quickly switch to and from “erase” mode. To turn on erase mode when using a Mac, press and hold the tilde (~) key on your keyboard whilst painting. If you’re using Windows, press and hold the backtick (`) key.
To turn off “erase” mode, let go of the key and you can paint as normal.


0 Comments