
In this tutorial, I’m going to show you a trick that will enable you to apply Illustrator’s Pathfinder effects non-destructively. By non-destructively, I mean in a way that won’t destroy the shapes you’re working with. Even after applying a Pathfinder effect, your original shapes will remain editable, allowing you to easily refine your designs.
To follow along, all you need is two shapes that slightly overlap each other. To demonstrate, I’m going to use two circles to create a crescent shape.
How to apply Pathfinder effects non-destructively
Select both of your shapes.

Go to the Pathfinder panel (Window > Pathfinder). Hold alt and select one of the Shape Modes. I’m going to choose Minus Front. This will subtract the shape in front from the shape behind.
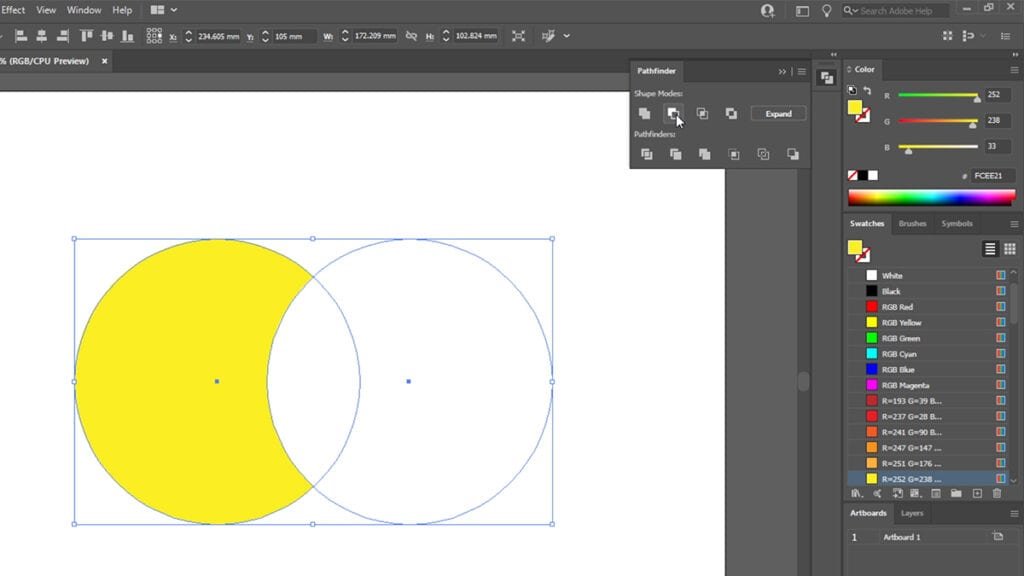
Normally, doing this would leave only the shape behind and the shape in front would no longer be visible or editable. However, holding alt creates a Compound Shape, which means even though the shape in front is technically no longer visible, it can still be selected and edited.
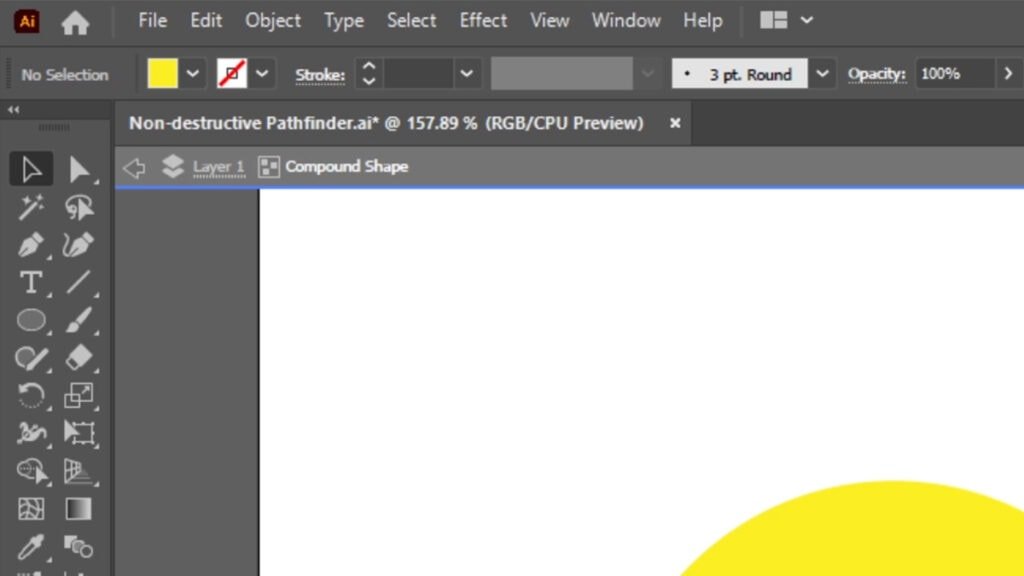
To edit your shapes, you can either use the Direct Selection Tool (A) or double click them. This will open Illustrator’s isolation mode and allow you to select and edit your shapes independently of each other.
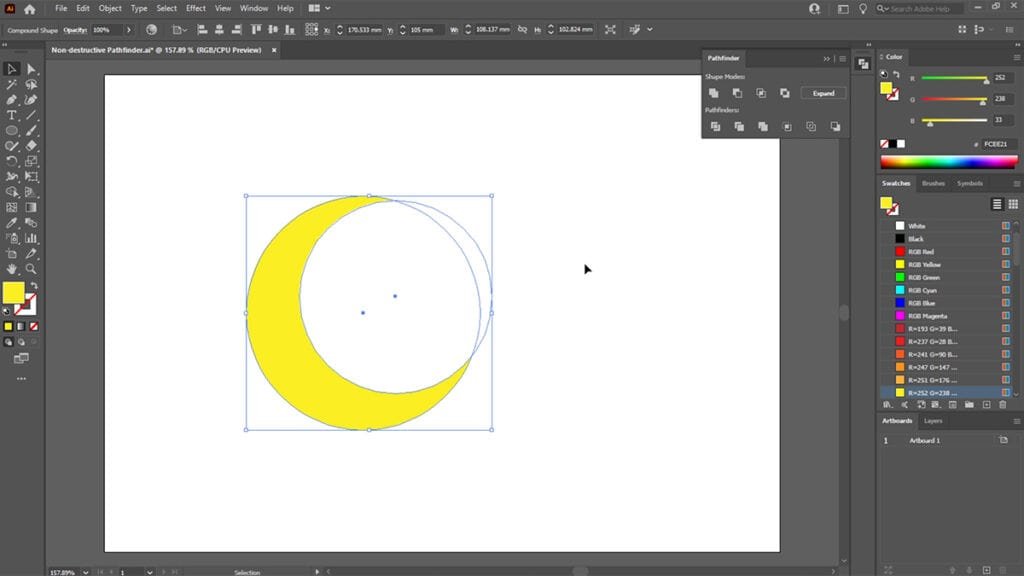
Edit your shapes however you see fit. You can scale, rotate and position them however you like.

Once you’re done, exit isolation mode by double clicking the artboard.

Bonus tips
You can do this with as many other shapes as you need
If the shape you need to create is going to require more than just two other shapes to construct, don’t worry. You can keep adding shapes to your artboard and repeating the steps above to apply new Pathfinder effects. As long as you hold alt, all of the shapes you apply Pathfinder effects to will remain editable.
Instantly remove hidden shapes
Let’s say you’re using this trick to create something like a logomark and need to remove any hidden shapes from the final file.
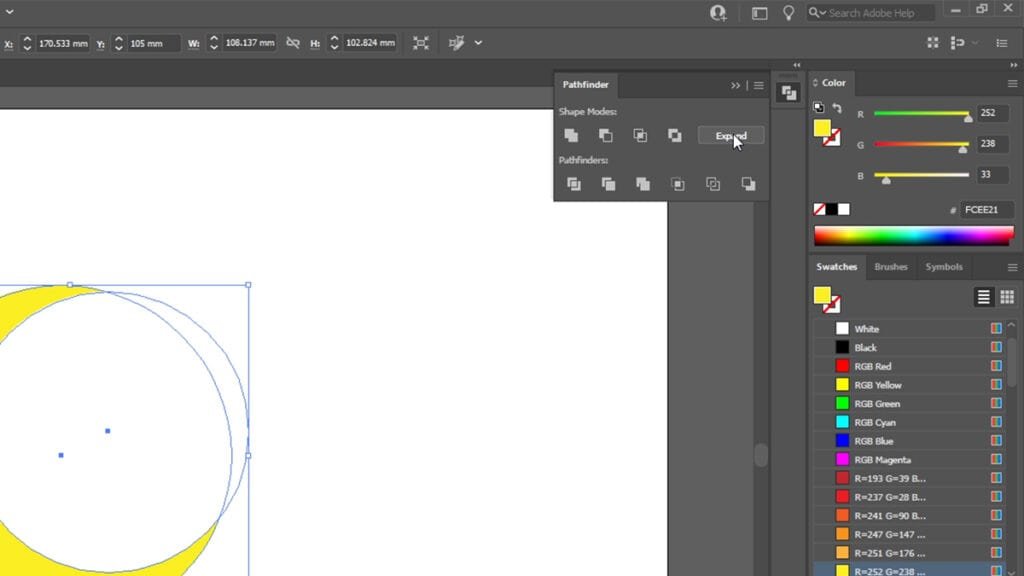
To do this, select the shape you’ve created.
Then go to the Pathfinder panel (Window > Pathfinder) and click the Expand button. This will destructively apply any Pathfinder effects you’ve used, leaving only the core shape you’ve constructed. Any previously hidden shapes will no longer be selectable or editable.

I hope you’ve found these tips helpful. If you have any questions or would like to share your thoughts, please feel free to use the comments section below.


0 Comments