
Ever tried applying pathfinder effects to multiple objects at once and ended up with a result you weren’t expecting?
I used to run into this problem all of the time.
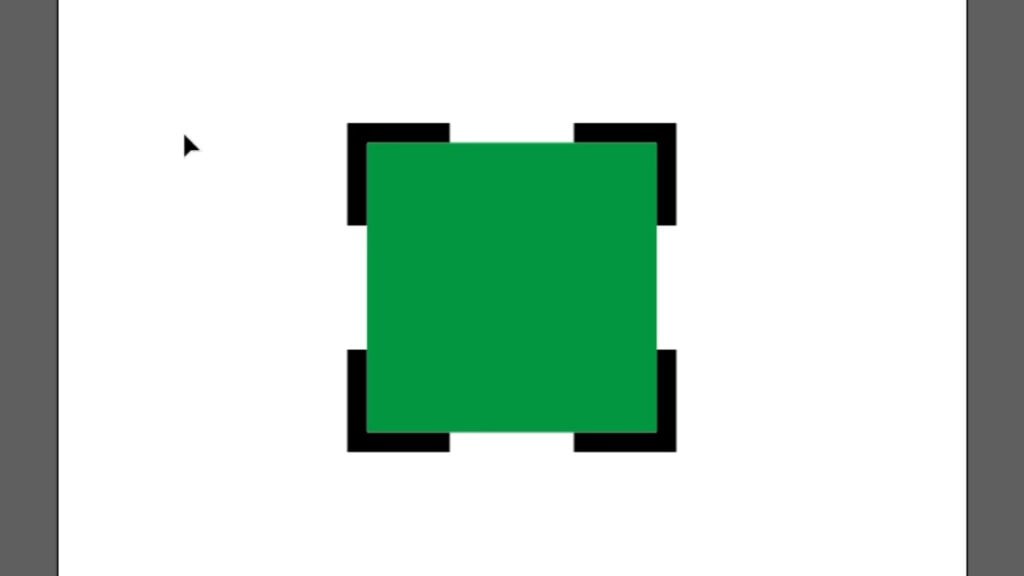
Let’s look at the below as an example…
Here we’ve got a green square overlapping four smaller black ones.
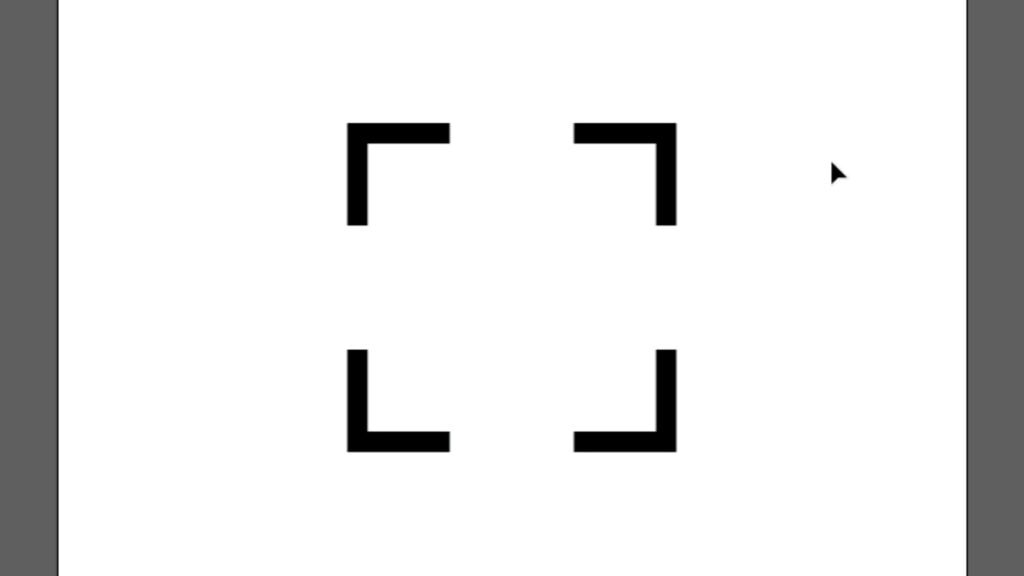
Let’s say that I want to subtract the green square from the black squares to create a shape like this:
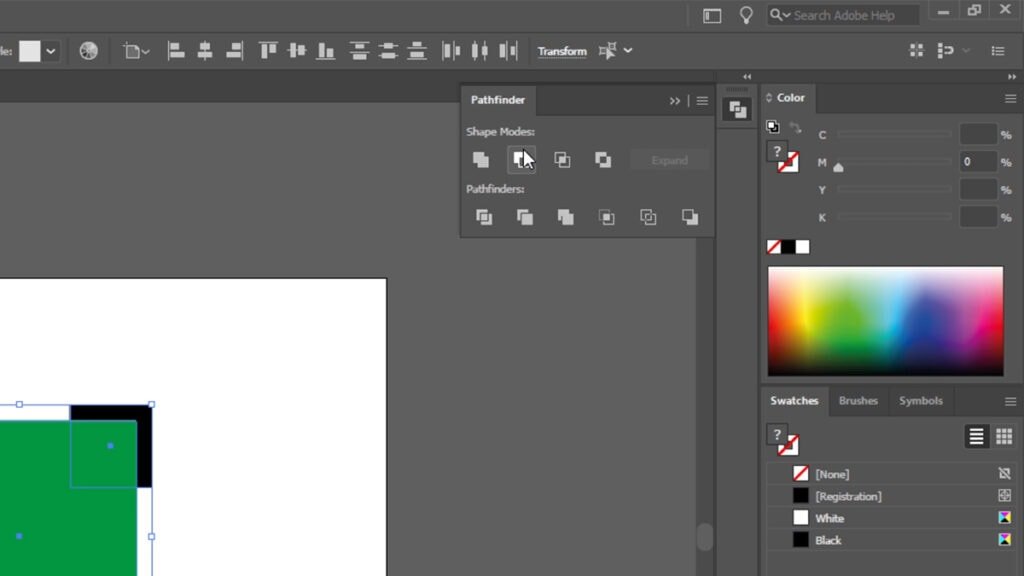
When I first started learning about Pathfinder effects, my instinct was to simply select both the green and black squares and apply the Minus Front effect. However, I soon found that this didn’t work as I expected it to. Instead of creating the shape above, I’d get something like this:

I’d then try grouping the black squares first, or merging them using the Pathfinder effect, Unite, but the result was still the same.
At the time, I presumed that Pathfinder effects could only be applied to one object at a time.
It wasn’t until a couple of years later that I discovered my presumptions about Pathfinder effects were wrong—applying them to multiple objects can be done.
All you need is the magic of a Compound Path.
What is a Compound Path?
A Compound Path is very similar to a Group in that it’s a “group” of multiple objects. The difference is that when applying Pathfinder effects to Groups, the individual objects that make up that group are treated as separate elements, where as the objects that make up a Compound Path are treated as one.
This enables us to apply Pathfinder effects to multiple objects at once.
How it’s done
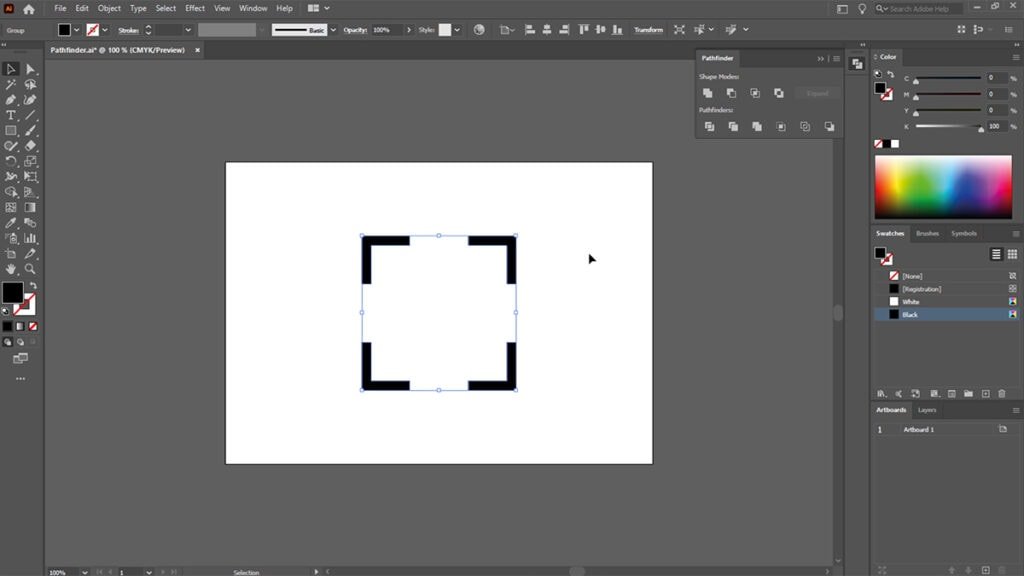
To make a Compound Path, select all of the objects that you want to include (in this case, it would be all of the black squares) then go to Object > Compound Path > Make.

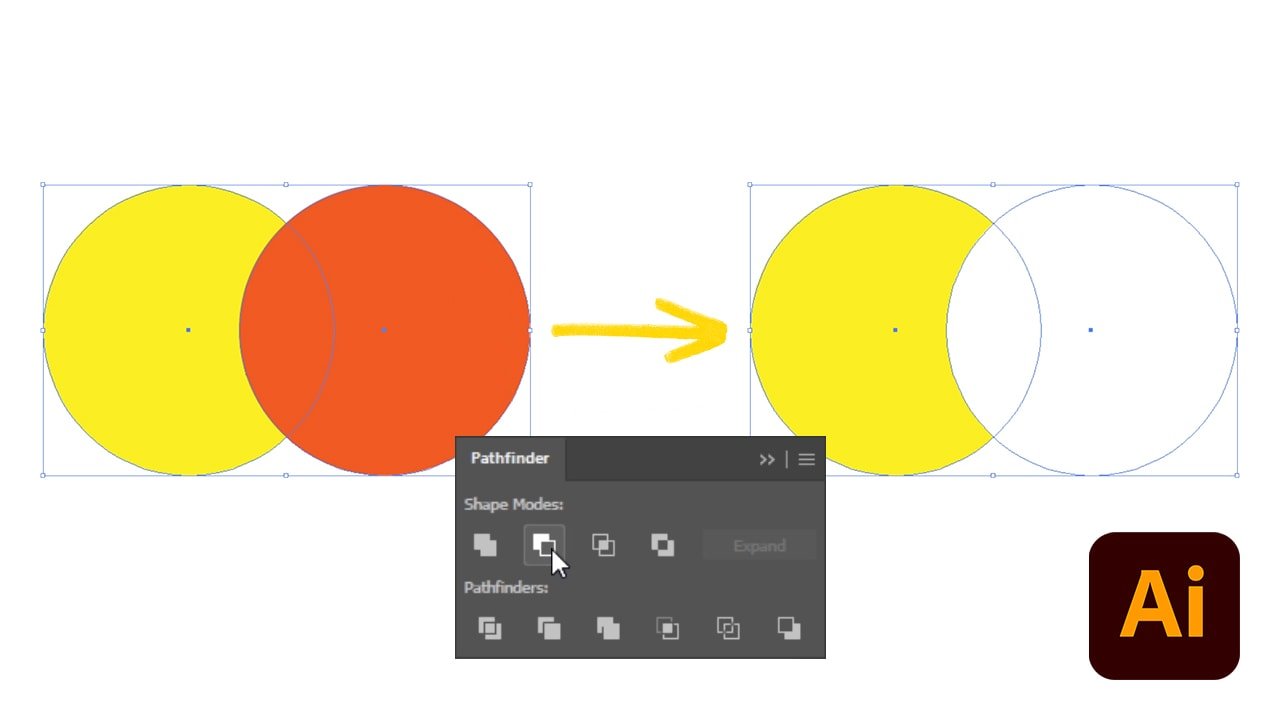
Once you’ve done that, hold Shift and select the overlapping object (the green square), then go to the Pathfinder panel (Window > Pathfinder) and click Minus Front.
This will subtract the overlapping object from the objects behind it all at once.
I’d recommend experimenting with the other Pathfinder effects too and you’ll see just how much easier using Compound Paths can make building complex shapes.


Thank you! This tutorial saved me!