
In this post, I’m going to show you how you can significantly speed up your workflow by using Creative Cloud Libraries to organise and store frequently used design elements. No more recreating or loading elements app by app. With Creative Cloud Libraries, design elements like colors, logos, paragraph styles and images can be made immediately accessible in all of your Creative Cloud apps.
What are Creative Cloud Libraries?
Creative Cloud Libraries let you create “libraries” of design elements for specific projects or clients. You can add elements such as colors, logos, paragraph styles, images and more. Any libraries you create are instantly accessible via the Libraries panel, which you can access from most Creative Cloud apps.
You could think of libraries as live style guides, where all of the creative elements you need are right at your fingertips.
Elements from Creative Cloud Libraries are dynamic, so when they’re dropped into a document they remain linked to your library. If you then make changes to an element from your library, it will update all instances of it throughout the documents you’ve used it in.
Libraries can also be shared with team members for easy collaboration. This is a great way to ensure that everyone on your team has access to all of the elements they need and that they’ve always got the latest version.
How to create a library
You can create libraries using pretty much any app on Creative Cloud. For this tutorial, I’m going to be using Adobe Illustrator to create a library of elements from a pre-made style guide document.
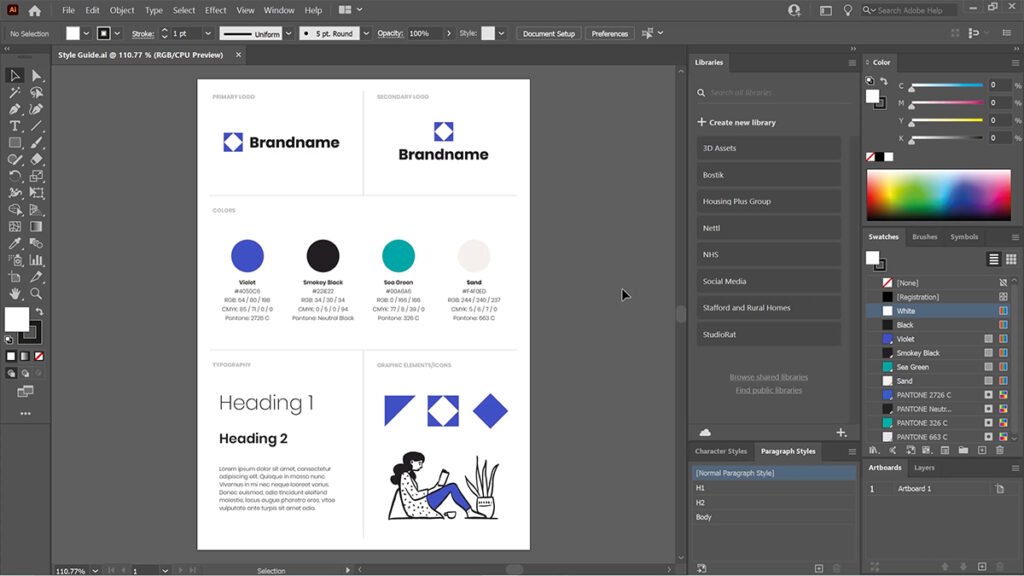
You can download the document for free if you would like to follow along.
To create a library, open the Libraries panel (Window > Libraries) and click Create new library.
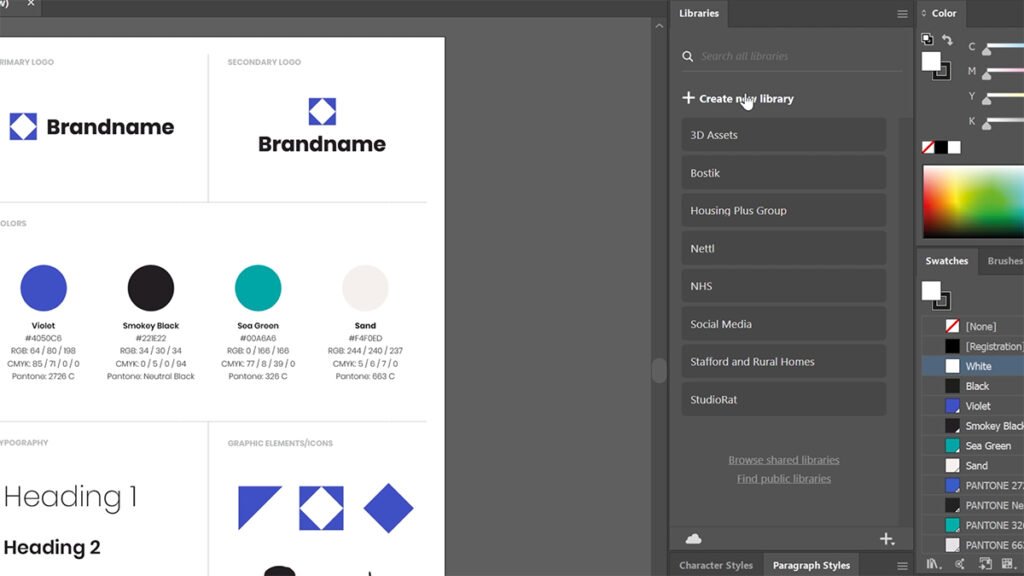
Give your library a name (I’m going to call mine ‘Example Brand’), then click Create.

Now that you’ve created a library, you can start adding elements from your document.
Adding colors to a library
To add colors to your library, select one of the circular color swatches on your artboard, then click the + icon in the Libraries panel and choose Fill color.
This works with any object on your artboard that has a fill applied, including text.
When objects have a stroke applied, you can add the Stroke color to your library by following the same steps and choosing Stroke color.
You can also add Swatches to your library. To do this, go to the Swatches panel (Windows > Swatches), select the Swatches that you would like to add, then click the button labelled Add selected Swatches and Color Groups to my current Library.
If you’re working in a document where you don’t already have the colors in your palette saved as Swatches, I’ve previously shared a tip on how to add multiple colors to the Swatches panel at the same time. You can use this trick to turn all of your colors into Swatches first, then you can follow the steps above to add them all to your library. This is much quicker than adding colors one by one.
Adding graphics to a library
In the context of Creative Cloud Libraries, Graphics are any graphic elements such as logos, icons, illustrations and images.
To add a graphic to your library, select an object on your artboard, then drag and drop it into the Libraries panel. Dragging and dropping an element into a library will automatically add it as a Graphic.
Do this for each of the elements you would like to add as graphics.
When dragging and dropping elements into libraries, they will automatically be given the name ‘Artwork’ followed by an incremental number. This won’t be helpful if we need to search for elements later on, so I would recommend renaming elements as you go along.
To rename an element, double click the element name or right click the element and choose Rename.
Adding paragraph styles to a library
To add Paragraph Styles to your library, select a piece of text on your artboard, then click the + icon in the Libraries panel and choose Paragraph style.
You’ll notice that you also have the option to add a Character style, which will come in handy when you come to build a more complete library.
You can also add Paragraph Styles you’ve already saved to your document.
To do this, go to the Paragraph Styles panel (Window > Type > Paragraph Styles), select the Paragraph Styles that you would like to add, then click the button labelled Add selected Style to my current Library.
Organising and grouping elements
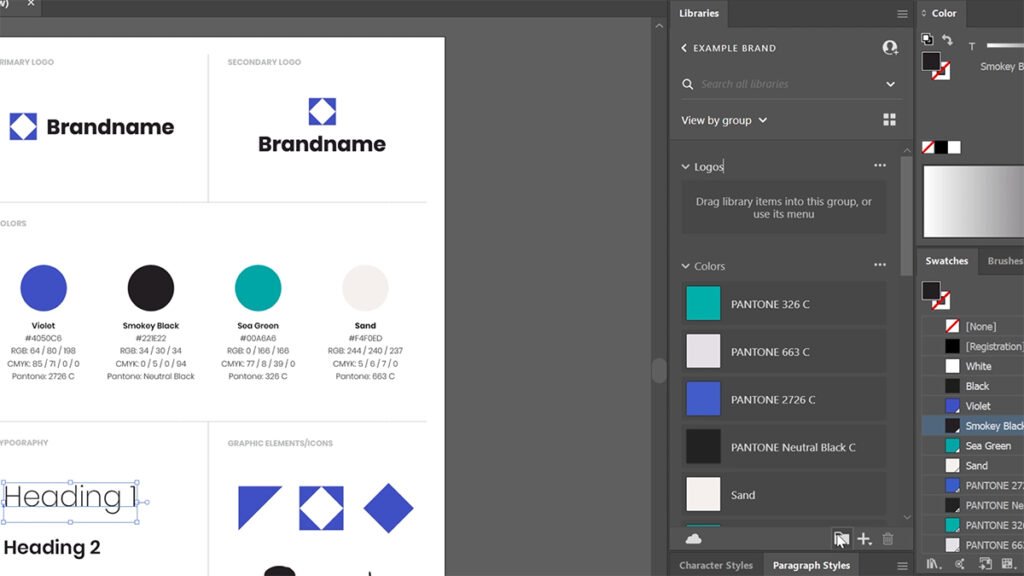
Now that you’ve added all of the elements to your library, you’ll see that they’ve automatically been organised into groups based on element type.
If you would like to take this a step further and create your own custom groups, you can do so by switching the view option to View by group.

When you do this, the Libraries panel will present you with the options to Create group or Auto-generate groups for me.
Choosing Create group will allow you to create custom groups one at a time. Choosing Auto-generate groups for me will basically recreate the element type groups we had when the view option was set to View by type. The difference viewing elements by group is that you can customise the auto-generated groups and add or delete groups as you please.
In this case, as the element type groups are pretty close to what we want anyway, choose Auto-generate groups for me.

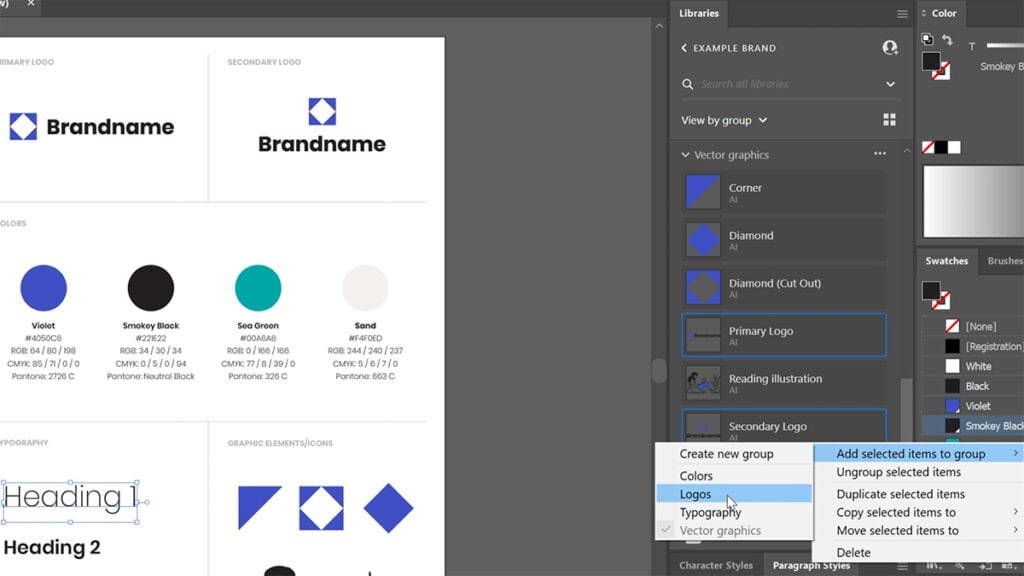
Now you’re going to separate your Graphics into two groups. One group will be for your logos and the other will be for your other graphic elements.
To create a new group for our logos, click the folder icon at the bottom of the Libraries panel and name the group ‘Logos’.
Select both of the logo elements, then right click and select Add selected items to group > Logos.
With dedicated groups for elements like this, it will help you to keep things organised as your libraries get bigger.
A quick note on element types
We’ve only covered a few of the element types you can add to libraries in this post, but there are others, some of which are app-specific. For example, in Photoshop, you can add Brushes and Layer Styles to a library.
For a full breakdown of the types of elements each app will allow you to save, check out this article from Adobe.
Ways you can use Creative Cloud Libraries
Client brand assets
As we’ve already touched on above, Creative Cloud Libraries are brilliant for storing brand assets. You can create a library for each of your clients so that you’ve always got access to their brand assets no matter where you are.
Social media icons
Find yourself downloading the same social media icons again and again? Create a library to put them in and they’ll only ever be a couple of clicks away. The same applies for any other miscellaneous graphics you use regularly.
Project-specific assets
If you’re working on something like a new advertising campaign with a set of elements that are going to be used in several deliverables, you can add these elements to a library for easy access.
How do you plan on using Creative Cloud Libraries? Will these tips help speed up your workflow? Let us know in the comments section below.


0 Comments